Kitchenware photographs should show materials, size, handling, and the way a product is used. For overseas brands whose cookware, utensils, or kitchen accessories are made in China, the supplier can send samples to our Shenzhen studio for photography before inventory ships abroad.
Table of Contents
- Why Kitchenware Photography Matters for E-commerce
- Defining Your Brand Style for Your Target Market
- Essential Equipment for Kitchenware Photography
- Setting Up Ideal Lighting for Kitchenware
- Choosing the Best Angles for Kitchenware Products
- Selecting Backgrounds that Enhance Product Appeal
- Using Props to Showcase Functionality
- Close-ups and Detailed Shots
- Editing and Post-Processing Techniques
- Adding Infographics and Descriptive Text Overlays
- Mistakes to Avoid in Kitchenware Photography
- Kitchenware Photography Questions
Why Kitchenware Photography Matters for E-commerce
For an online kitchenware listing, photographs help customers inspect a product they cannot handle in person. When shopping for items like cookware, knives, or utensils, customers rely heavily on images to understand an item’s quality, functionality, and fit for their lifestyle. Compelling, well-lit photos can drive sales by illustrating the value and usability of each product.
Defining Your Brand Style for Your Target Market
Define the overseas market and customer you are selling to, then choose a kitchen setting, props, measurements, and styling that fit that audience. Is your brand focused on minimalist, high-end, or family-friendly kitchen items? Define your audience's expectations, and let that shape your photography choices—light, color, and composition should all be consistent with your brand identity.
Essential Equipment for Kitchenware Photography
To produce professional results, invest in quality equipment. Here’s what you’ll need for effective kitchenware photography:
- Camera: A DSLR or mirrorless camera with full manual control.
- Lenses: A 50mm or macro lens for detailed shots of texture and material.
- Tripod: Ensures stability, especially for detailed and close-up shots.
- Lighting: Reflectors and diffusers to adjust light intensity and balance.
- Backdrop: A selection of neutral or themed backgrounds, like wood or marble.
Setting Up Ideal Lighting for Kitchenware
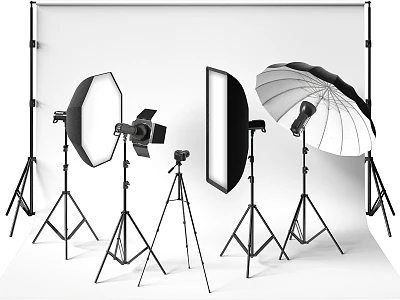
Lighting can bring out the details and textures of kitchenware, making it look appealing and high-quality. Here are some tips for setting up effective lighting:
- Natural Light: Soft, indirect light from a window works well for cookware and utensils.
- Artificial Light: Use LED lights with softboxes to control light intensity, especially in studio setups.
- Backlighting or Sidelighting: Highlight metals, ceramics, or glass by creating a clean, reflective look.
Choosing the Best Angles for Kitchenware Products
Different angles can reveal the functionality and aesthetic qualities of kitchenware. Here are a few recommended angles:
- Top-Down Shots: Useful for flatware and organized layouts of cooking tools.
- 45-Degree Angle: Ideal for showcasing depth and structure, great for pots, pans, and utensils.
- Side Views and Close-Ups: Emphasize the materials and textures, such as stainless steel, ceramic coatings, or wooden handles.

Selecting Backgrounds that Enhance Product Appeal
Choose a background that complements the kitchenware without distracting from it. Here are some popular options:
- White or Light-colored Backgrounds: Clean and professional, ideal for e-commerce.
- Natural Textures: Wood or marble surfaces add warmth and give context to cooking-related products.
- Lifestyle Backgrounds: Set up the kitchenware in a kitchen environment to show how it fits into real-life settings.
Using Props to Showcase Functionality
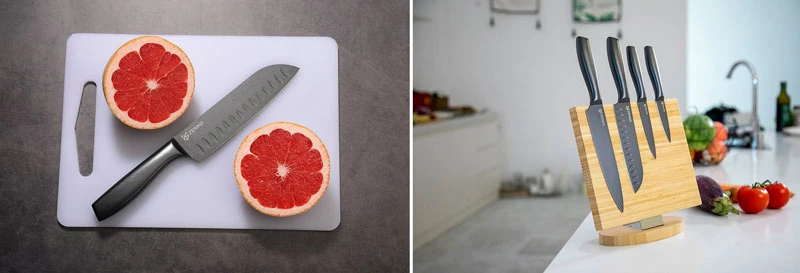
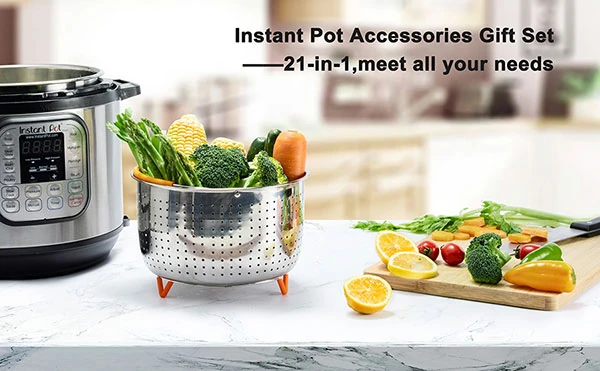
Props add context and illustrate how the kitchenware will be used. Consider adding:
- Ingredients: Vegetables, spices, or other items that fit the cooking theme.
- Complementary Utensils: Knives, ladles, or cooking spoons that match the product style.
- Everyday Kitchen Items: Dish towels, cutting boards, and other common kitchen tools to create a lived-in look.
Close-ups and Detailed Shots
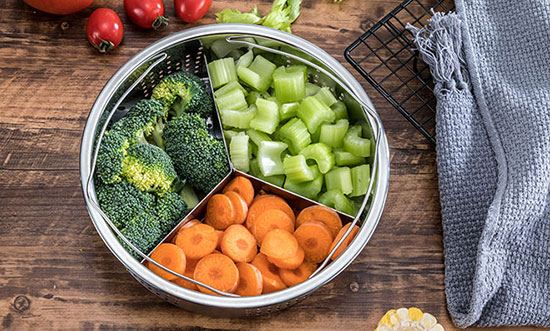
Highlight the craftsmanship and quality of the kitchenware with close-up shots. Details like handle design, surface texture, or blade sharpness are important for customers to see.
Editing and Post-Processing Techniques
Editing refines your images, making them look polished and professional. Here are some essential post-processing steps:
- Adjust Brightness and Contrast: Make the image clear and vibrant.
- Color Correction: Ensure colors look true to life, especially for materials like metal and wood.
- Spot Removal: Remove any dust or small imperfections.
- Sharpening: Slightly sharpen details to emphasize materials and edges.
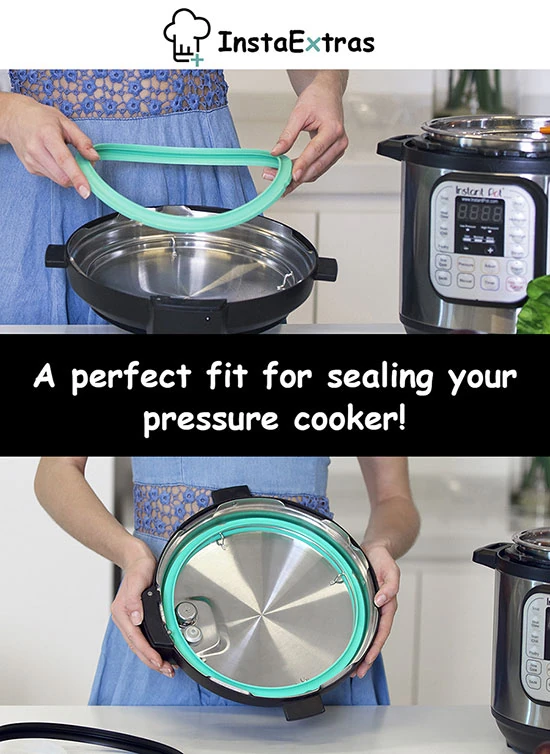
Adding Infographics and Descriptive Text Overlays
Infographics can quickly communicate product features to online shoppers. Try adding:
- Product Capacity: Useful for pots, pans, and measuring tools.
- Feature Highlights: Include details like non-stick coating, dishwasher-safe, or material type.
- Care Instructions: Tips for product care, such as “Hand-wash recommended” or “Heat-resistant.”
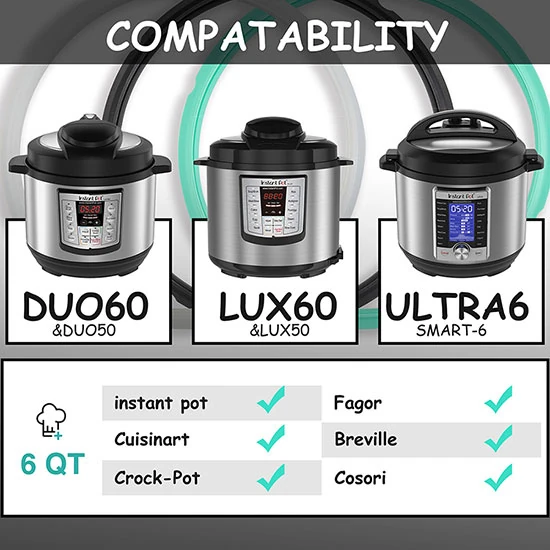
Mistakes to Avoid in Kitchenware Photography
- Over-Editing: Avoid excessive filters that can make the product look unrealistic.
- Cluttered Backgrounds: A simple background keeps the focus on the kitchenware.
- Ignoring Product Scale: Use props to illustrate the actual size of the item, helping customers better understand the dimensions.
Kitchenware Photography Questions
Q1: How can I make metal kitchenware look polished and high-quality?
A1: Use side lighting or backlighting to create a reflective, shiny appearance, and avoid overhead lighting that causes harsh reflections.
Q2: What’s the best background for photographing kitchenware in China?
A2: Use a clean background for product views and an appropriate kitchen surface for lifestyle images. The choice should match the sales channel, product material, and target customer.
Q3: How can I highlight a product’s functionality?
A3: Use props like vegetables or ingredients to show the cookware or utensil in use, giving customers a clear idea of its purpose.
Q4: Should I use natural or artificial light for kitchenware?
A4: Natural light works well, but if you’re in a studio, artificial LED lighting with soft diffusers is also effective for a controlled setup.
Q5: What editing tools are recommended for product photography?
A5: Adobe Lightroom and Photoshop are industry standards for color correction, brightness adjustment, and minor touch-ups.
Q6: How do I avoid reflections in metal kitchenware?
A6: Use diffusers to soften the light and shoot from a slight angle to minimize unwanted reflections.
Plan clean product views, material details, scale, and use scenes as one image set. Before shipping samples, confirm which SKU, accessories, and packaging will be sold and which sales channels need the finished images.
Planning a kitchenware shoot? Explore our product photography service in China and photography portfolio.