Cinema 4D (C4D) is a powerful tool in the world of 3D design, widely used for 3D modeling, 3D rendering, and animation. The perspective view is crucial for designers, providing an in-depth look at models from any angle within the 3D space. To achieve seamless 3D compositing, designers often need to set up background images within the perspective view. This C4D tutorial will guide you through efficient techniques for configuring and adjusting background images, helping you improve your 3D modeling and compositing results. Here are some expert tips for creating realistic composite scenes in C4D.
Methods for Setting Background Images:
-
Using C4D Backgrounds: Create a new material and add the background image as a texture. Apply this material to the background object in C4D to use it as a reference while working on your 3D model.
-
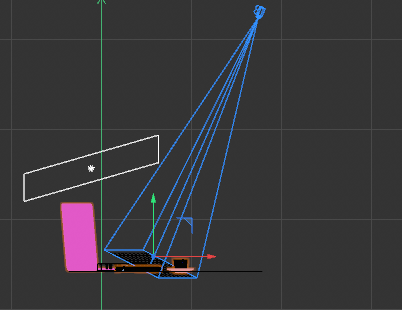
Using Camera and Plane Setup: Create a camera and a plane, then apply a material with the background image as a texture to the plane. Position the plane as a child of the camera to ensure it remains aligned with the camera view.
Important Considerations:
-
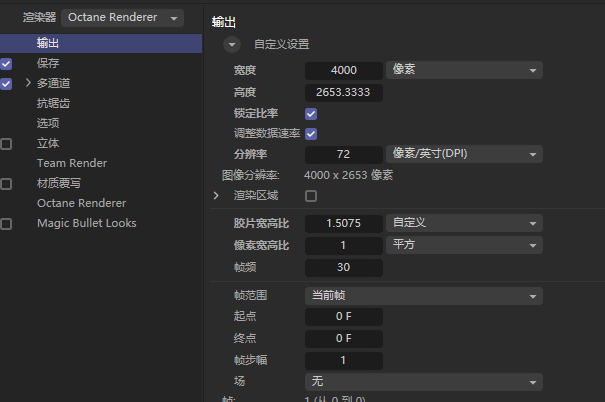
Aspect Ratio: Make sure the background image’s aspect ratio matches the project dimensions to avoid image distortion.
-
Material Settings: Use cubic mapping to keep the background image’s proportions intact, ensuring that it doesn’t scale with changes in the plane’s size.
-
Real-Time Preview: The plane background method allows you to preview composited images in real time, making it easier to adjust your 3D elements for a seamless match.
These techniques offer flexibility in positioning and displaying background images, enhancing both workflow efficiency and the visual accuracy of your 3D scenes. By implementing these methods, you can achieve more realistic integrations between your models and the background environment, ensuring a perfect match with real-world scenes.

